Table of Contents
Steps to create a contact flow #
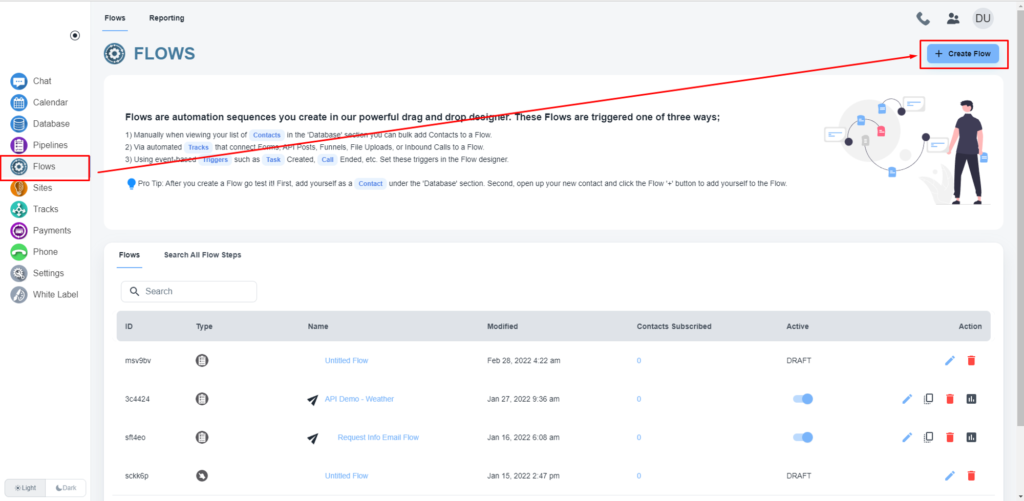
Load the flow builder #
Navigate to the flow builder by clicking the “Flows” on the left side menu. Then when you have the flow page open, you will see a link to “Flows” on the top of your page, please click that. Click on the ‘Create Flow’ button.
Drag and drop to build flow #
Drag and drop elements on the flow builder to add steps

💡 Video guideline on automation flow
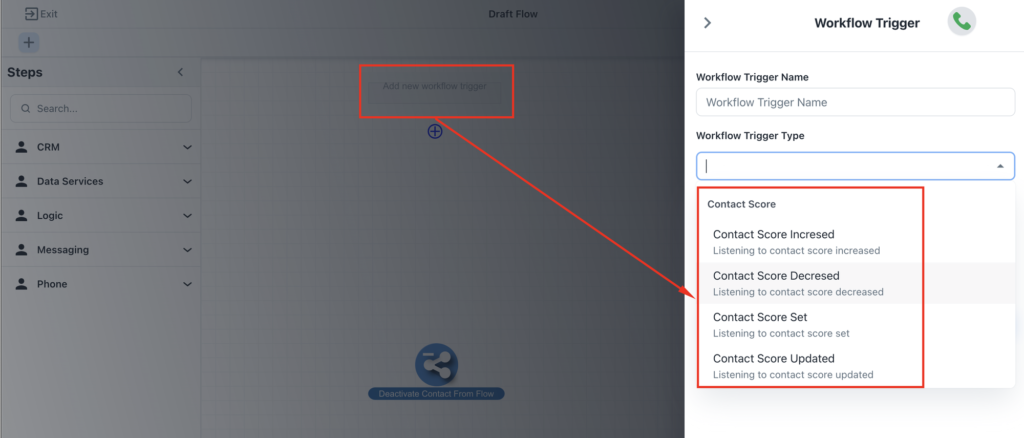
Select From Available Contact Options #
Click on “Add new workflow trigger” and select any of the contact options available from the dropdown
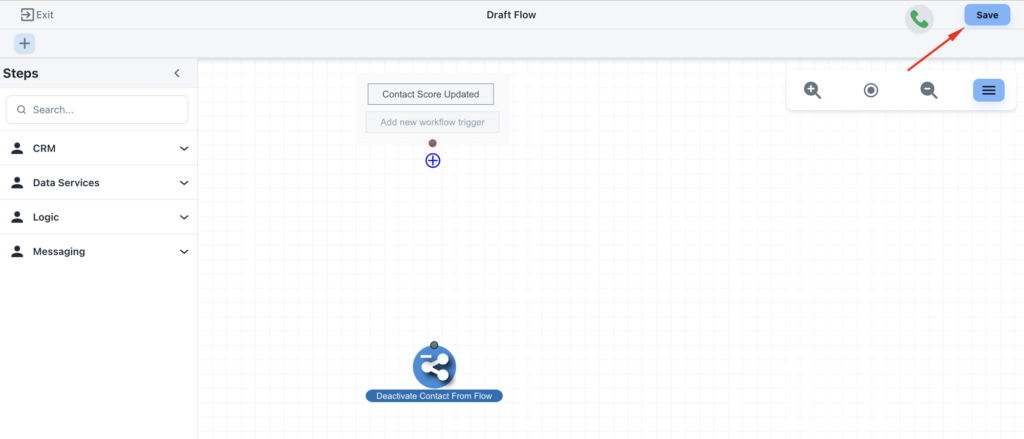
Save the flow #
After completing the design works, please click on the ‘Save’ button
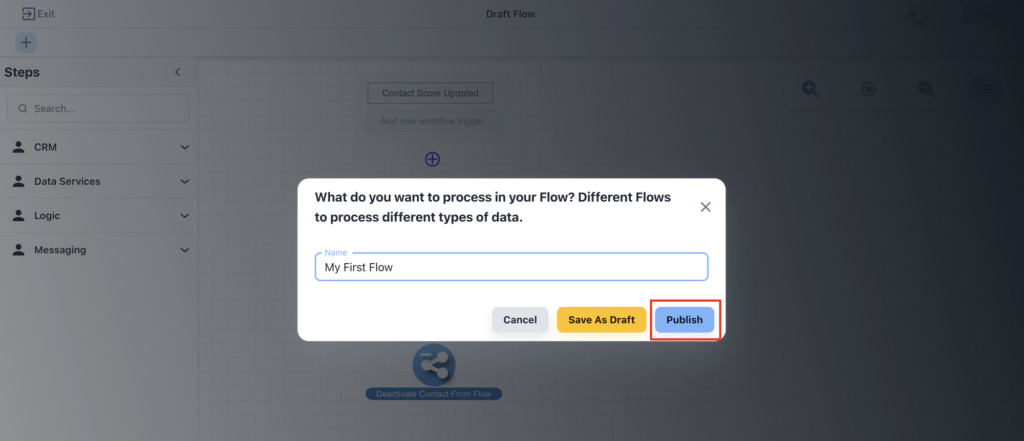
Publish the flow #
The system will allow you to set a name for the flow and publish the flow.