Steps to configure the email step #
Add the ‘Email Send’ step #
Under the ‘Messaging’ section, you will get the ‘Send Email’ step
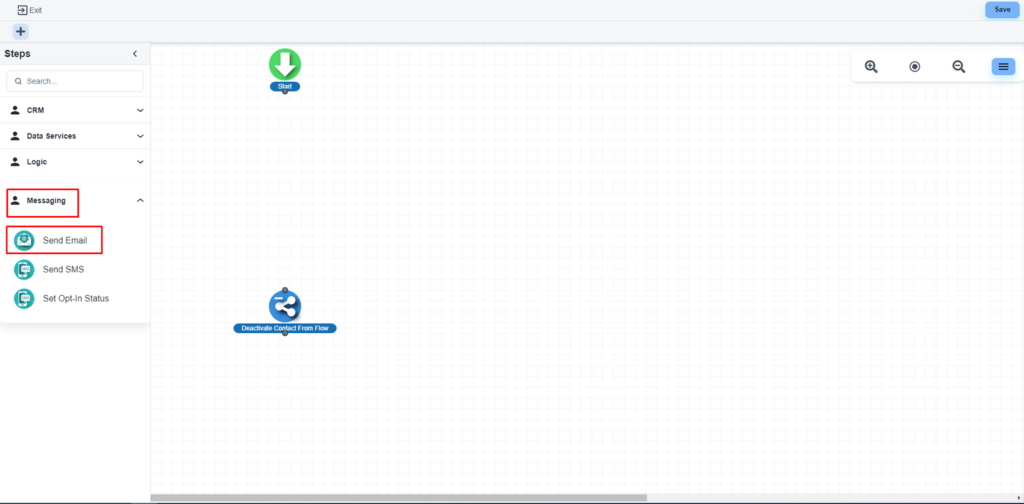
The system will allow you to configure that step
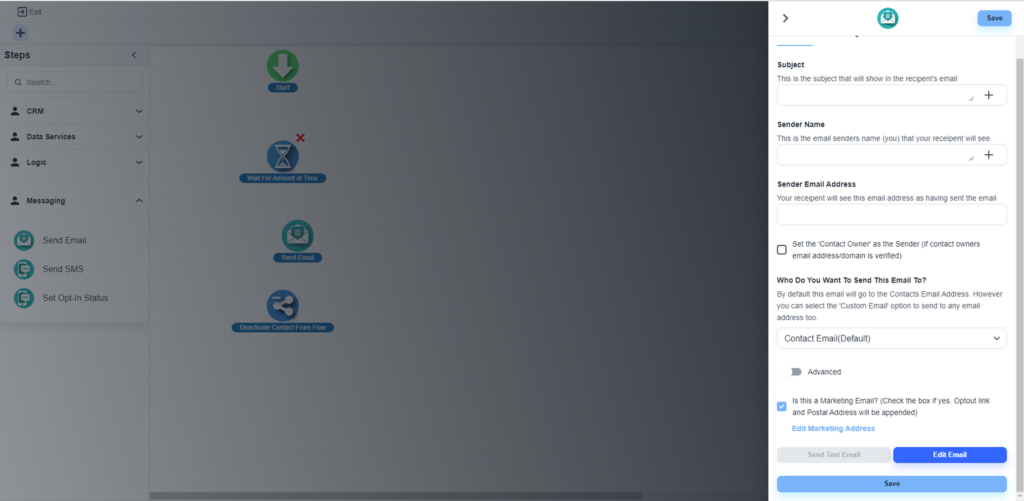
‘Email Send’ step options #
Subject #
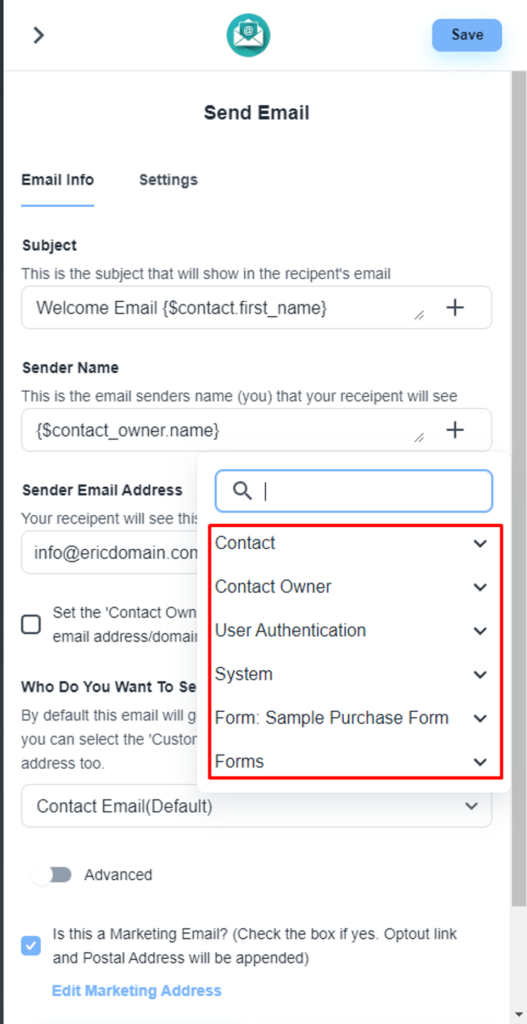
Here you can add a fixed text like ‘Welcome Email’. Also, the system allows you to add all the dynamic fields like contact, submitted form fields etc
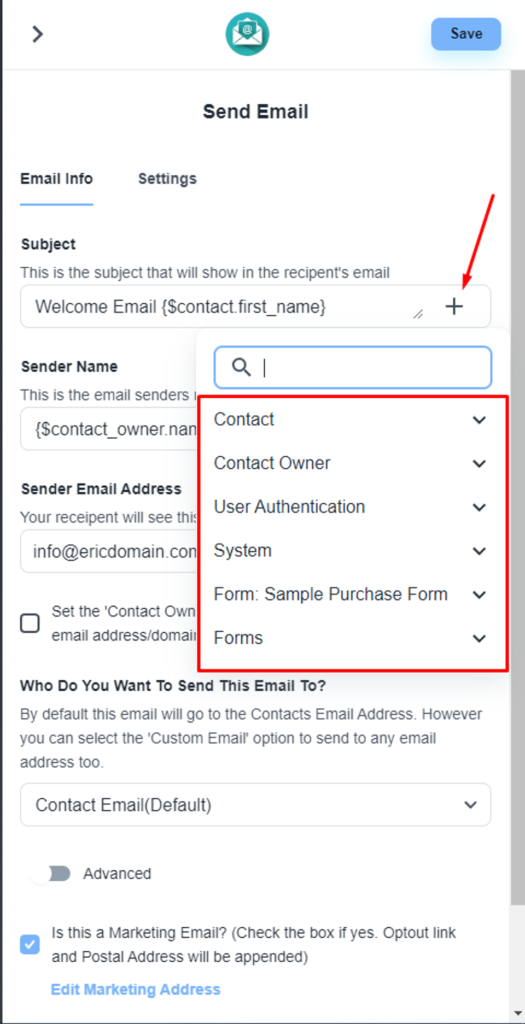
Sender name #
Like the subject, you will also get the same feature for the ‘Sender Name’ field
Sender Email Address #
Here you can add any email address that you have connected to under the chat inbox.
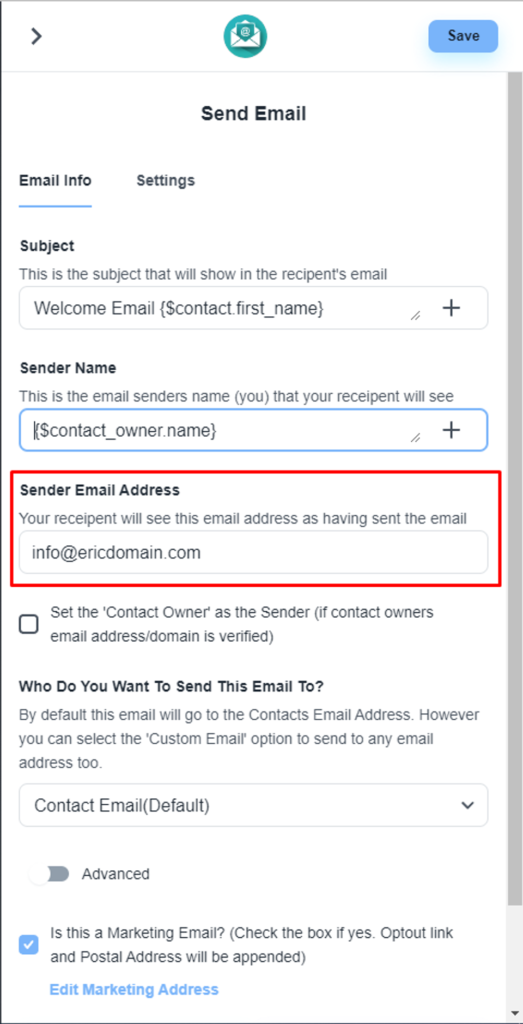
If you use a custom domain email like info@ericdomain.com, then you need to auth this domain ‘ericdomain.com’
Who do you want to send this email to? #
Here you can set different email fields of the contact.
Advanced options #
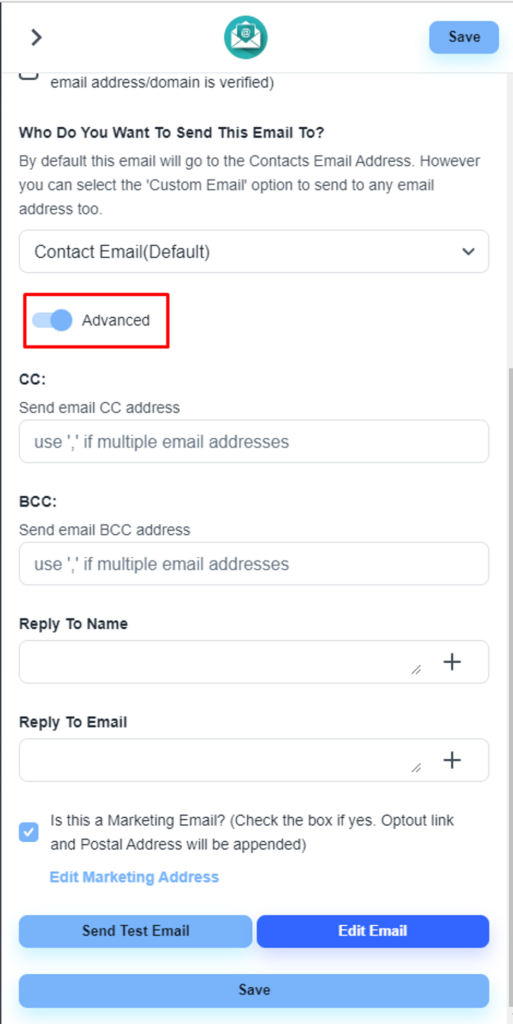
With this option, you can add CC, BCC, Reply To Name, Reply-To Email options also
Design email body #
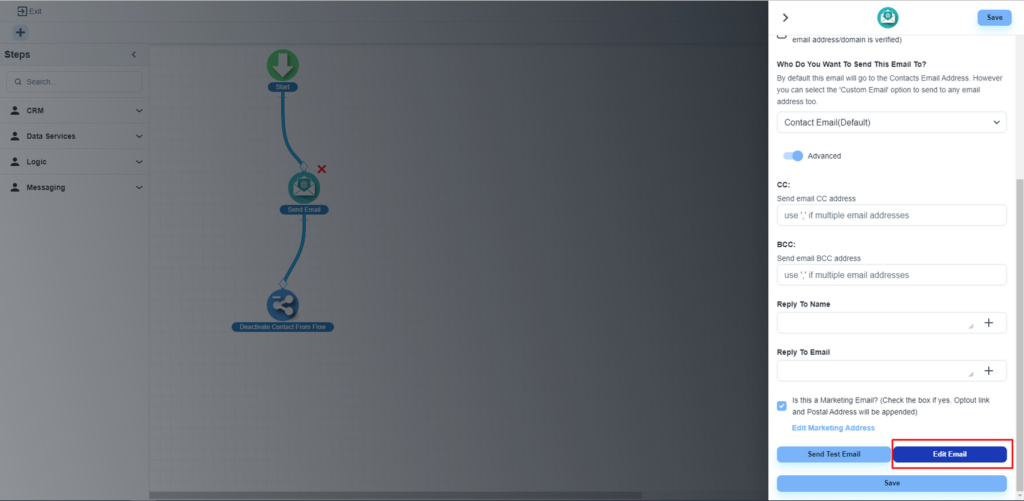
Please, click on the ‘Edit Email’ button, to design the email template for that step.
Save the flow #
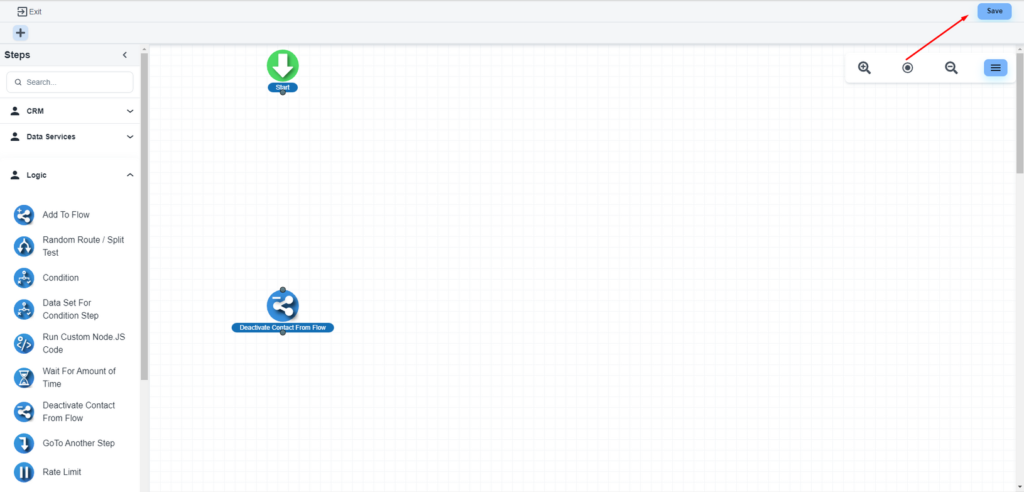
After completing the design works, please click on the ‘Save’ button
Publish the flow #
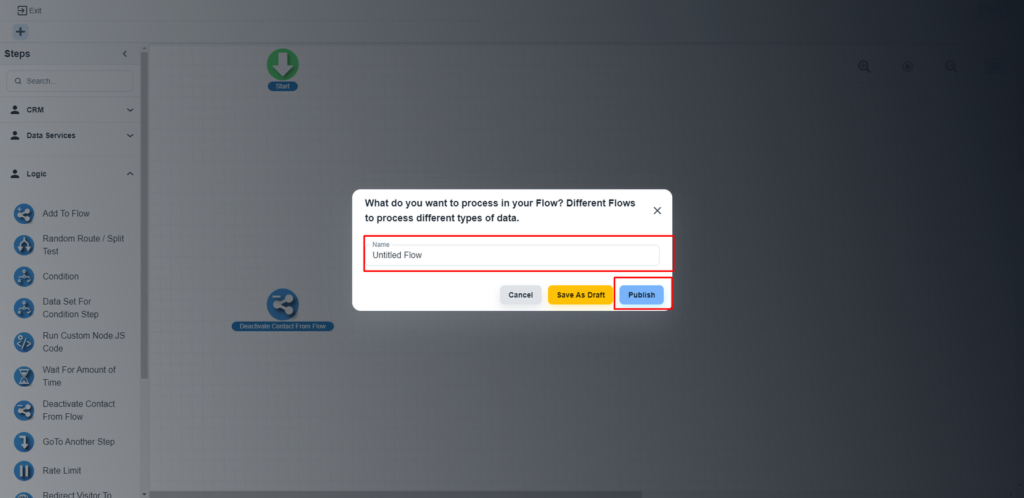
The system will allow you to set a name for the flow and publish the flow.
