Table of Contents
Steps to connect email #
Connect your domain #
💡 How to connect your domain for email service only?
Add email inbox #
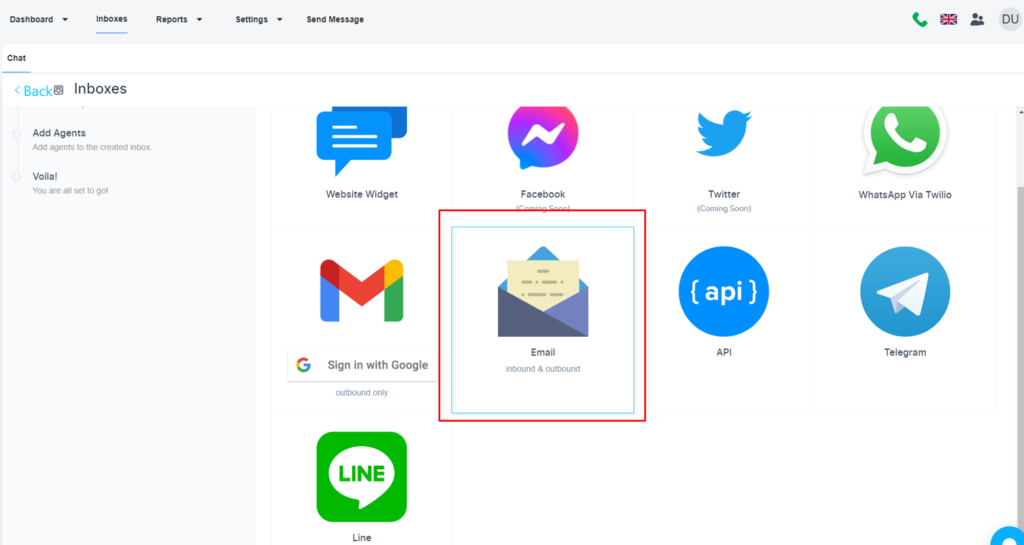
Please, navigate to the ‘Chat’ icon on the left menu bar. Once the page is loaded, click on the e ’Inbox’ menu on the top menu bar.

No, click on the ‘Add Inbox’. Choose the ‘Email’ option to add an email associated with your domain.
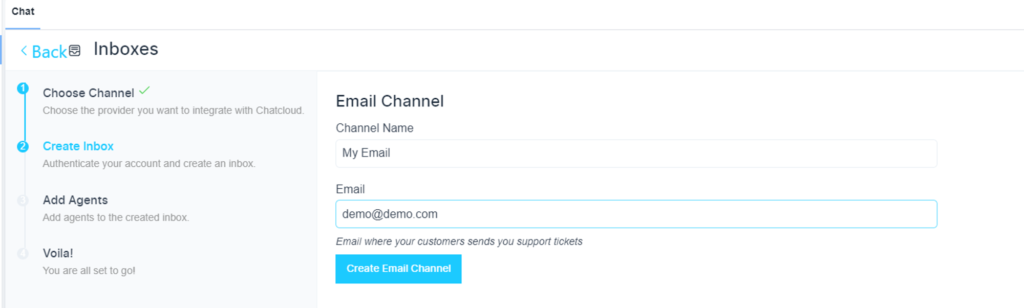
Configure email inbox
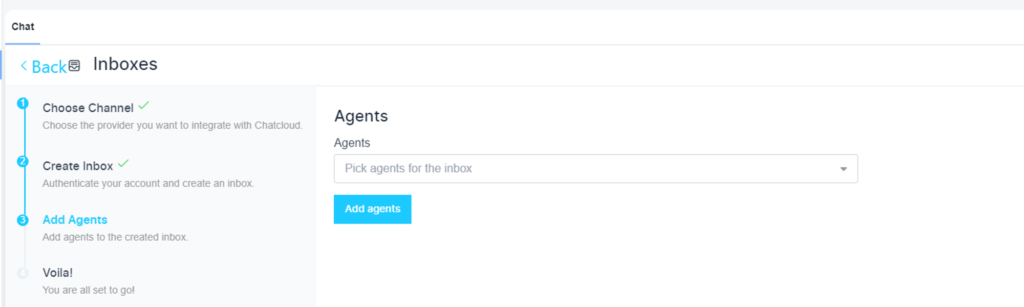
Add an agent for your inbox (Optional)
Inbox is ready now
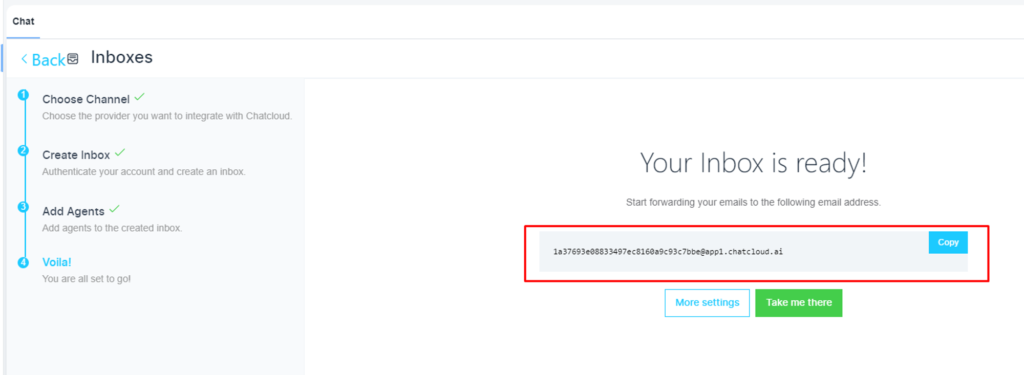
Collect email forwarding address #
Here is the email forwarding address to your connected email inbox

You need to configure email forwarding to receive inbound emails. But the above steps are enough to send email using the system.


